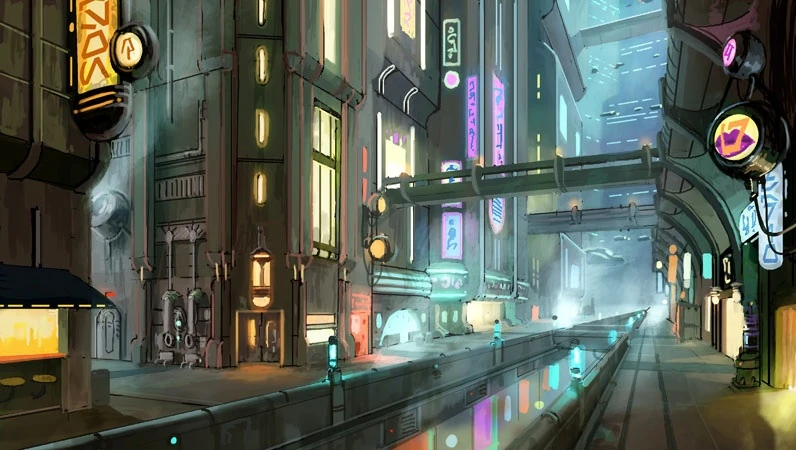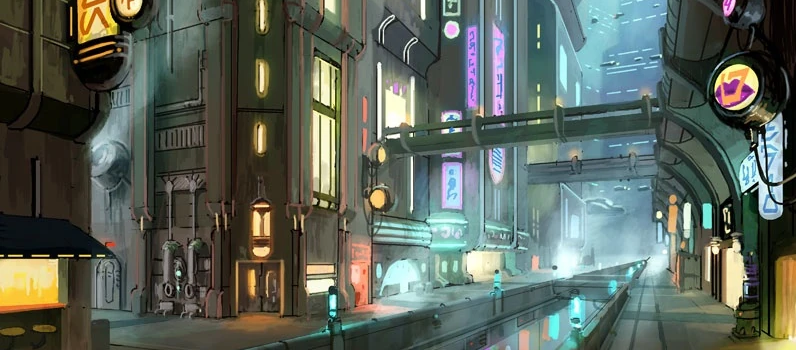
Welcome to the back alleys of Coruscant, where you must be quick on your feet to avoid the dangers of a city so tall that portions of the population never see the sky! I am excited to announce that we are rotating in an old favourite for our tournament skirmish maps: Coruscant Back Alleys. Originally in rotation in the waning days of FFG Organized Play, this map was one of the highlights of a meta dominated by Spectre Cell. Filled with deceptively safe spaces for melee figures to advance, plus some really sneaky sightlines that made long distance shots something to be aware of, this map was nicely balanced. It does favour mobile figures with all the different terrain features chopping the map into smaller sections. See the bottom of this article for more information about all the current maps in rotation.
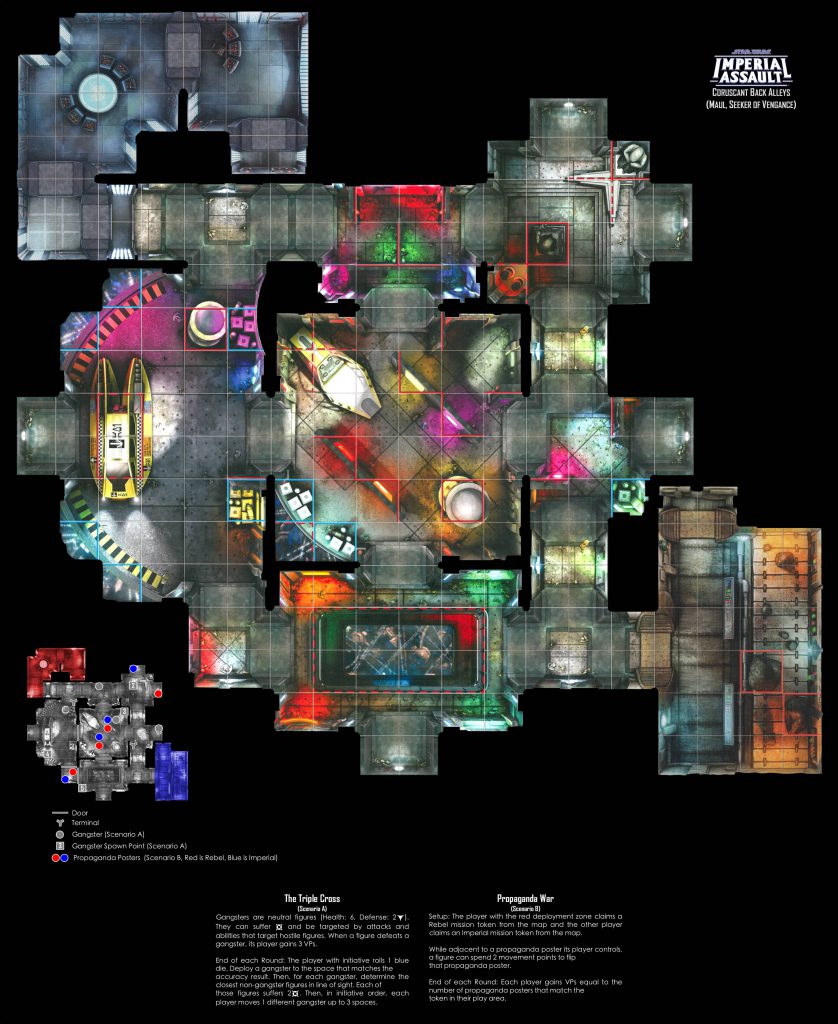
As with all Skirmish maps, this one comes with 2 missions; Scenario A: The Triple Cross and Scenario B: Propaganda War.
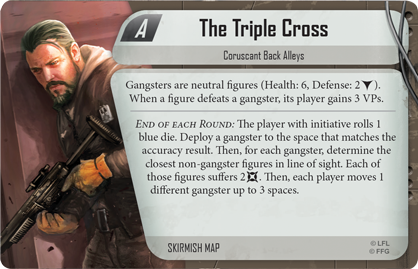
Note that both missions have an official Errata. See the caption text below the images for the errata’d text. The Triple Cross mission has you navigating the neon glow of the alleyways, looking for allies among the various gangs that call the different levels of the city home. Unfortunately these gangsters are fickle and alliances only last so long, They could turn on you quickly, so watch how close you get. This mission places gangsters that are neutral figures onto the map. That is an important distinction. They are figures, not objects. However, it is important to note that gangsters are neutral. That means they are not friendly or hostile figures. However, the offical FFG errata indicates that the gangsters can suffer damage and be targed by attacks and by abilities that can target hostile figures. Sabine’s Parting Gift is a great example of an ability that would not do damage to a gangster before the errata, but can now do damage to the gangster afterwards. Also pay attention to the fact that the gangsters do damage to multiple figures if more than 1 figure is within the same distance of the gangster.

Propaganda War has our heroes racing around the back lanes of Coruscant putting up posters that are pro-Empire or pro-Rebellion. Your goal is to swap as many posters to your side, so that the citizens of Coruscant see your preferred message. Note that you choose Imperial or Rebel mission tokens based on your deployment zone, not your army faction. The errata on this mission is a little more subtle. FFG added the text “from the map” when talking about claiming mission tokens. This means you set up all 4 Rebel tokens and all 4 Imperial tokens on the map. Then each player will claim one of those tokens based on their deployment zone. This means removing the token from the map and placing it in your play area. This will leave only 6 mission tokens on the map to score points from. There is a tactical decision to make when removing a token. Do you leave a token close to your opponent so you can remove a token from the far side of the map, allowing you access to the tokens where you plan to set up your forces? Or do you want to remove the tokens from where you expect your opponent to set up to deny them points instead? One interesting tidbit about flipping these posters. You don’t need an action to do it, you just need to spend movement points. This allows you to do something like play Urgency, spend 2 movement points moving adjacent to a token, spend 2 movement points flipping the token, and spend another 2 movement points moving away again. You are not interrupting the Urgency special action, merely spending the movement points in different ways. Also there’s a fun, if not likely, opportunity if you are stunned beside a poster. You can still perform a move action when you are stunned, you are only not allowed to exit your space. So you can spend movement points to flip posters even when you are stunned.
I hope everyone is as excited as I am to play on this map again! This map will be replacing Bespin Tibanna Facility. The current competitive maps in rotation are Tarkin Initiative Labs, Wasskah Hunting Grounds, and Coruscant Back Alleys.